My road to the e collar was definitely not clear cut: I had absolutely no idea how to use an e collar. Heck, I didn’t even know what an e collar was.
What I did know was that I had two Great Dane puppies who were 8 weeks old. They were supposed to be sweet, charming, and adorable. But instead, all they were doing was ripping up my carpet, eating my bedroom walls, peeing EVERYWHERE, and destroying my house.
Meet Banks and Roo:
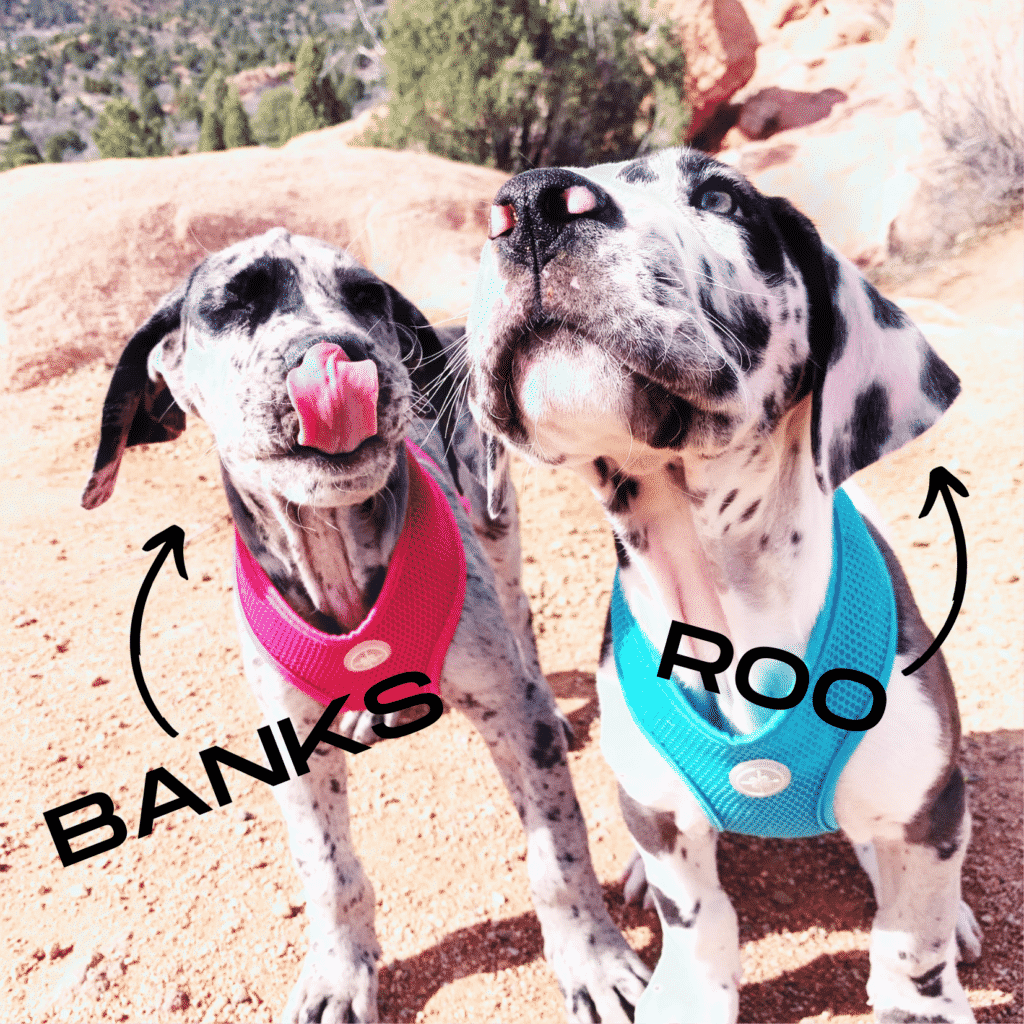
Yes- I ripped out my carpet within a few months and opted for Pergo (Thanks Home Depot!)
To say I had a bad day was an understatement.
These puppies were quickly turning into horses. What the heck was I going to do with them when they were in complete control over me- and not the other way around.

My Journey to Learning How to Use an E Collar
I had no idea what e collar training was.
I didn’t even know how, when, or what to feed these dogs.
Give them a treat and they should listen right? All the rest should fall into place?
Wrong.
Their behavior was getting worse.


My Dog Ate My Carpet
First, my sweet female Great Dane, named Banks, decided to eat my carpet.
She thought it was fun.
‘Other dogs don’t do this’, I thought. Dog training is supposed to be about sitting, laying, basic things- everyday life. Not how to stop eating carpet!
I was horrified.
My Immediate and Irrational Use of a Shock Collar
In my horror, I immediately did what many, many dog owners do.
I resorted to Amazon.
‘Training collar’, ‘Electronic Collars’, ‘Shock Collar‘- I begin frantically tapping faster than my fingers could even type.
And up popped a ‘perfect’ remote training collar- only $25! Since I was buying 2, I KNEW they had to be affordable.
Amazon prime? Even better-
Order placed! Soon my dogs will be wearing this electronic collar EVERYWHERE they go- and they will be perfectly behaved because of it.
Why Their Shock Collars Did Not Work
I couldn’t wait to open up their new shock collars.
Before I could barely throw away the bubble wrap, the collar was on the dog’s neck.
‘Zap!’ I thought as I begin tapping and pushed the button.
The dogs looked at me with a hurt and betrayed look in their eyes. They had no idea what they did wrong, but they knew mommy was mad. And that’s all that mattered to them.
Banksy curled under my legs, even though I wanted her to sit. Roo ran upstairs, even though in my mind he was going to lay down.
Where was their perfect behavior?
Learning that Shock Collars are NOT It
I started to sweat. My dog was stressing. I was stressing.
My dog was not giving me any behavior or indication that they were about to listen… WHY! WHY. What is it going to take to get these dogs to drop the undesirable behavior and actually start to listen?
The Reality Sinks In
As my dog sat and stared at me, I stop tapping the handheld remote.
This animal in front of me has absolutely NO idea what I’m saying- I think.
How do I speak ‘dog’? Frantic panic sets in. I looked down at the shock collar. Well, I know electric shock collars are NOT working. Positive reinforcement, by itself, is NOT working. I’m losing control, and it’s happening fast.
With this feeling of losing control of my dogs behavior…. I start to search for answers.
In my search- I realized that the shock collar didn’t work because it wasn’t paired with anything else.
I didn’t know how to use the collar, when to use it, or what it was for.
To them, the shock collar was just a terrible sensation on their neck with absolutely NO meaning. My dog’s sensitivity was more important to me than anything else.
I had to find a better training program, and I had to do it quickly!
Discovering The E Collar Training Process
Back to the drawing board, I needed to find something my dogs would actually respond to.
I had to get creative.
The answer?
Although it took months to find, I found what works best for me and my dogs: combination of an e collar and positive reinforcement.
This is called balanced training, and you can find many professional dog training companies or an individual trainer who are willing to help you through balanced training for your dog.
I began to research e collar training and discovered that the remote training collar (shock collar) that I had purchased was VERY different than an e collar.
I had ZERO idea that there was a difference- but the difference in collars was MONUMENTAL.
It all started to make sense, and I knew it was right for both my dogs and for me.
What is an Electronic Collar?
An e collar is a remote training collar that does NOT use shock.
Additionally, unlike the use of a shock collar, trainers who use an e collar encourage you to use the collar CORRECTLY.
I noticed an immediate shift in training discussions around e collar dog training vs. shock collar dog training.
More on that soon, but first: WHAT IS IT AND WHY IS IT SO DIFFERENT?
WHAT IS INSIDE OF AN E COLLAR?
The e collar has a receiver and a transmitter.
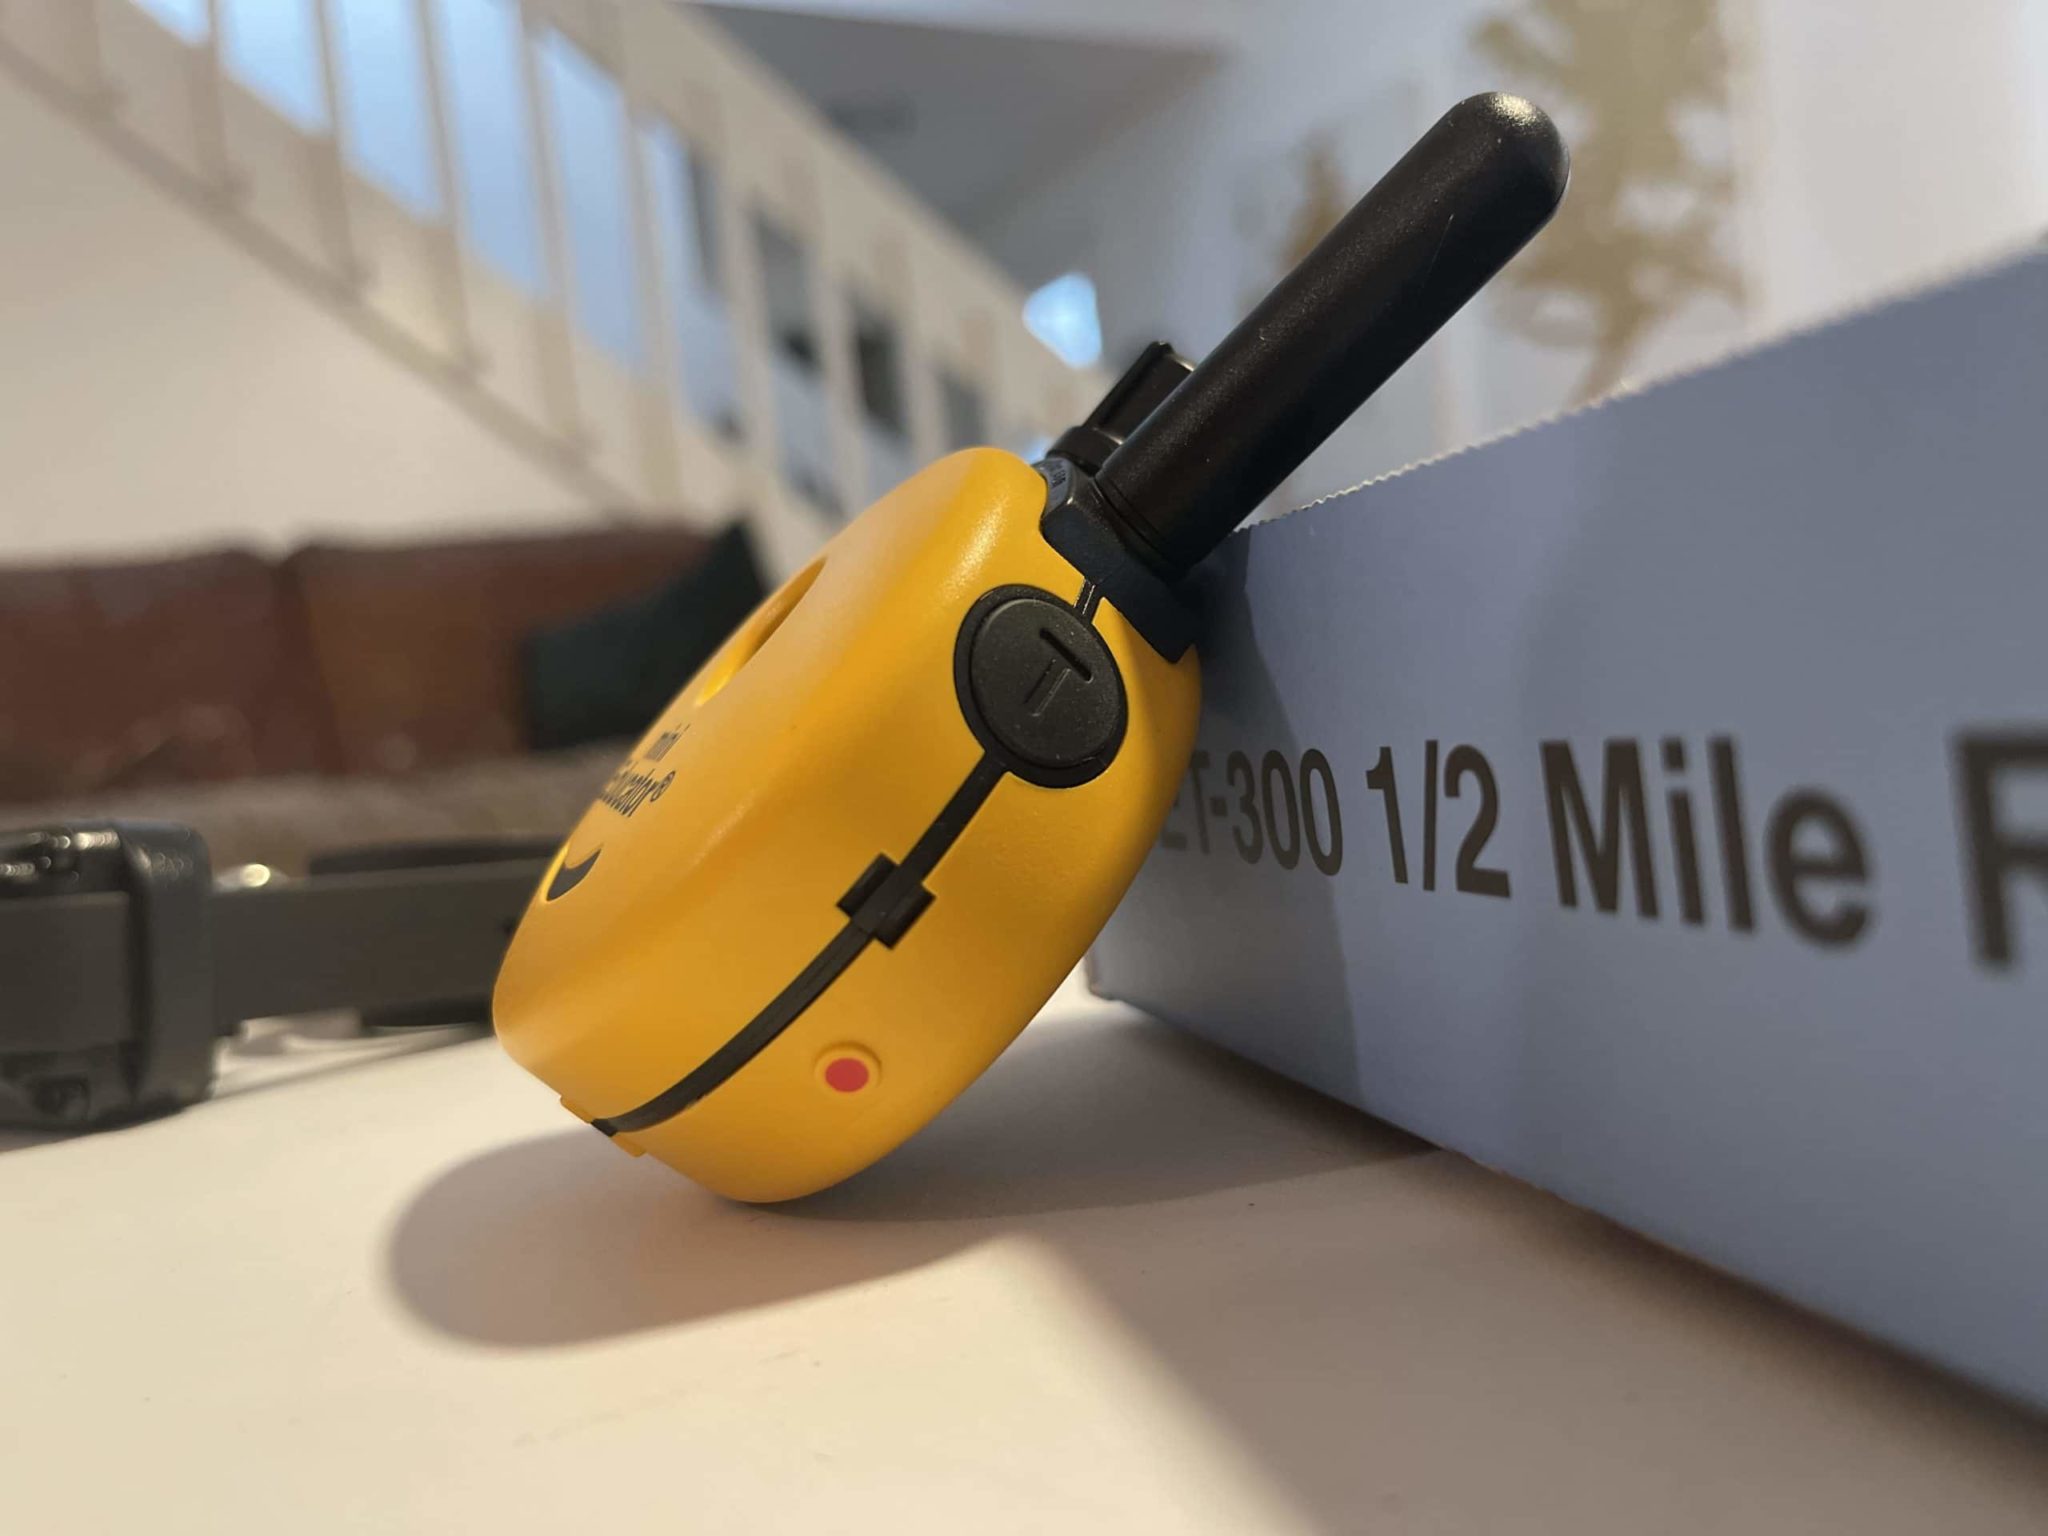
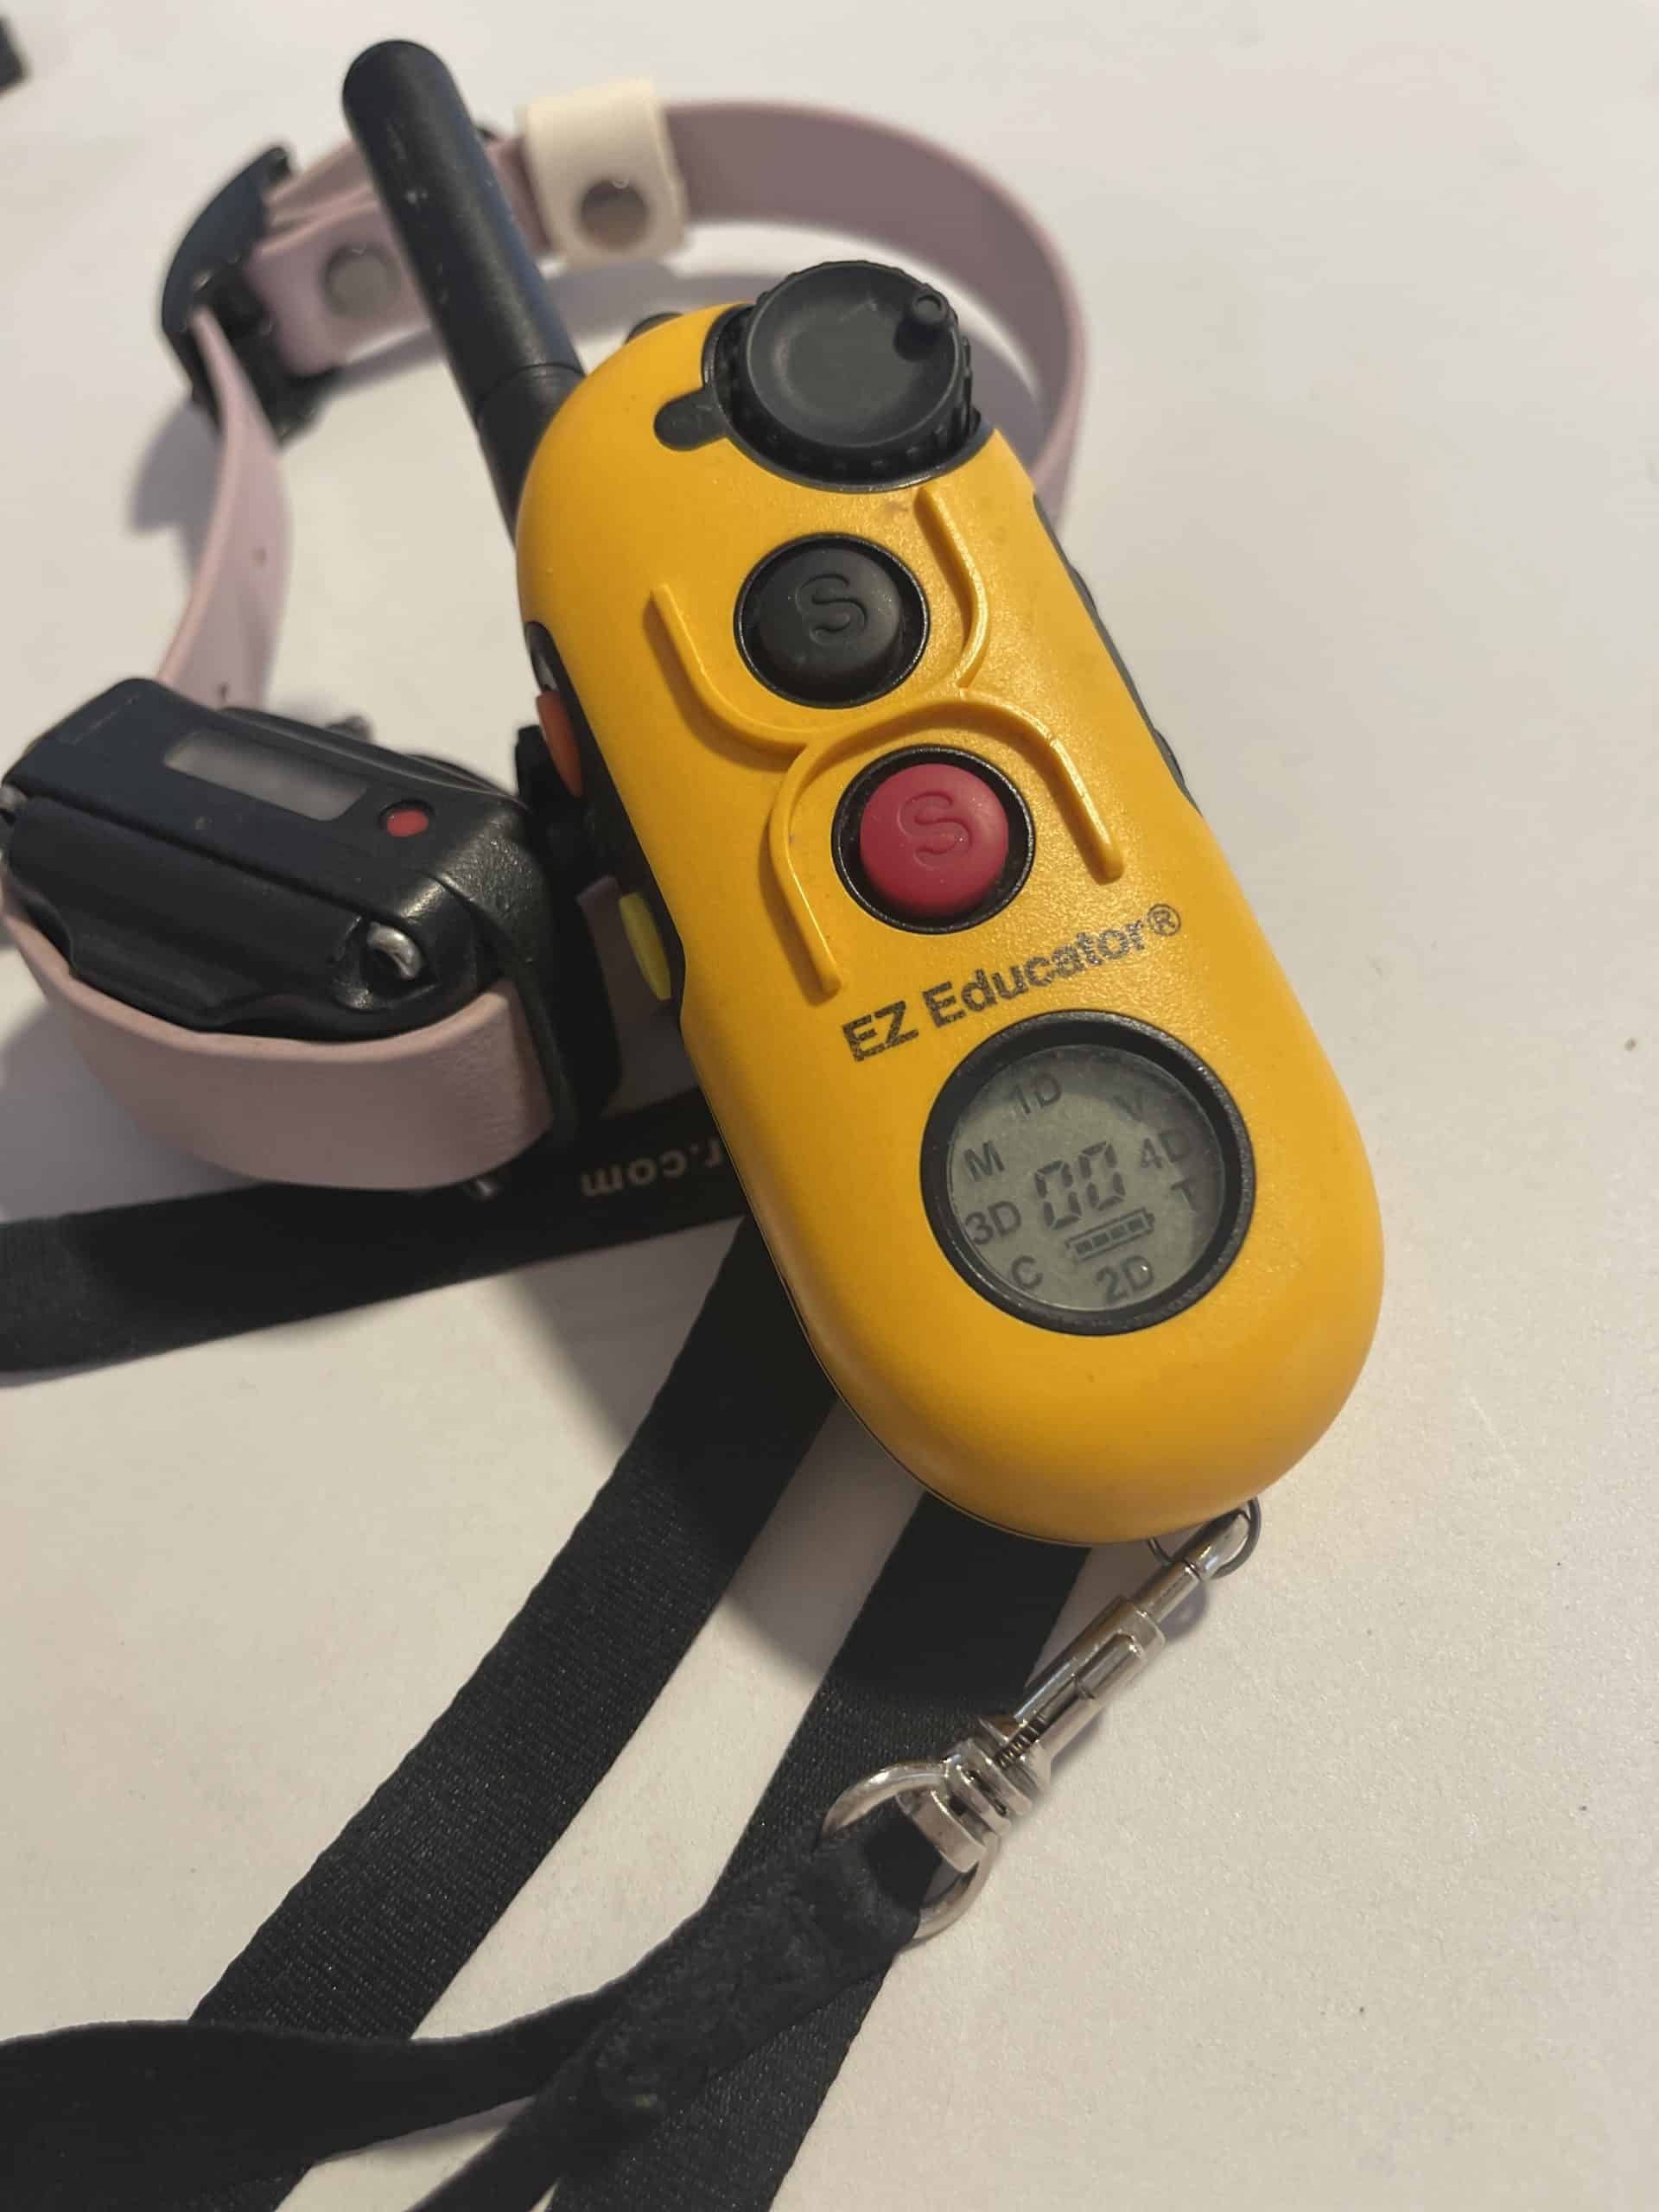
The receiver is the portion of the e collar that goes on your dog’s neck, and the transmitter is the handheld device that you, the owner or trainer, will use.
Some e collars have one button while others may have multiple buttons for different stimulation types (we’ll get to that in a bit).
THE RECEIVER
The receiver has two main parts: the prongs and the contact points.
THE PRONGS
The prongs are what touch your dog’s skin and deliver the stimulation. The contact points are what make contact with your dog’s skin.
There are three different types of e collar prongs on these training collars: short, medium, and long.
The type of prong that you will use is dependent on your dog’s coat type.
SHORT PRONGS: These are best for dogs with short coats because they make direct contact with the skin.
MEDIUM PRONGS: These are best for dogs with medium-length coats because they still make direct contact with the skin but are not as likely to irritate.
LONG PRONGS: These are best for dogs with long coats because they make indirect contact from the contact points with the skin and are less likely to irritate.
ELECTRIC STIMULATION: Most importantly, the receiver delivers the electric stimulation to your dog. Stimulation is NOT the same as shock, which was in the original collars I had bought for my dogs.
The stimulation is a very low-level electrical impulse that feels similar to a static shock that you would feel if you touched something and then touched someone else.
The sensation is not painful, but it is noticeable.

A VARIETY OF LEVELS IN YOUR DOG COLLAR (1-100)
Some e collars have multiple levels of stimulation while others only have one. (You should look for remote training collars that offer 100 levels of stimulation). The level in which one dog might feel the stimulation differs from dog to dog. One dog might feel the stimulation at a level 4, whereas another dog might feel the stimulation at a level 20. This is called the working level of a dog and is one reason why it is important that your collar offers so many varying levels.
The level of stimulation that you use is dependent on your dog’s size, age, and sensitivity.
THE TRANSMITTER OTHERWISE KNOWN AS THE HANDHELD REMOTE
The transmitter is the handheld device that you will use to deliver the electric stimulation to your dog.
As I mentioned before, some transmitters have one button while others may have multiple.
The e collar technology device has a different amount of buttons, depending on which unit you purchase.
Typically- your e collar device will have a stimulation button, a noise / beep button, and a ‘vibrate’ button.
YOUR COLLAR HAS A STIMULATION BUTTON
The stimulation button is, by far, the most talked about button by owners and ethical trainers in dog training.
Stimulation (e stim) is the same exact unit found in a ‘tens’ machine at the chiropractor. In other words, it’s actually HEALTHY for your dogs neck!
Why not receive some healthy boosts to your neck WHILE training? It all made sense to me.
YOUR COLLAR HAS A VIBRATE BUTTON
The vibrate button on the transmitter is used to deliver a ‘warning’ to your dog before any stimulation is even delivered.
Hypothetically, dog owners believe that the vibrate is a feature that you can “train your dog without ever having to use the stimulation”, somewhat of a ‘warning’.
I, however, have found the vibration MUCH more aversive to getting my dog’s attention than typical stim e collar use.
Every dog’s behaviors are different, and while some dogs might thrive with the use of the vibrate feature in different situations, the vibrate causes unnecessary stress to my own dogs.
YOUR COLLAR HAS A BEEP / NOSE BUTTON
The beep / noise button on the transmitter is used to deliver a ‘warning’ to your dog before any stimulation is even delivered.

Additionally, the beep can be used to target a specific behavior in your dog. For example, if your dog understands that the beep means you want them to demonstrate the behavior of ‘sit’, then you can use the beep as a marker for that specific behavior.
The beep is also used in e collar training to ‘mark’ a desired behavior. For example, if your dog is running towards you and you want him to stop, you can press the button on the transmitter which will emit a beeping noise, prompting them to sit.
All in all, the buttons mean what YOU want them to mean.
Each behavior of your dog can be depicted with any button: as long as you have given your dog clear instructions and communication as to WHAT that sensation or noise actually means.
If you’d like the beep to mean sit, then train your dog that the beep means sit.
If you want the vibration to mean ‘watch me’, then train your dog that the vibration means ‘watch me’.
The beauty of these devices is that they are versatile and can be used for a variety of different behaviors.
It is simply up to you, as the owner and trainer, to be clear in your communication with your dog surrounding that particular behavior.
E COLLAR FITTING & PLACEMENT
When you are beginning dog training with e collars, one important step that many dog owners forget, is how to fit the collar on your dog.
Trainers will point out that this is one of the MOST important parts of using these collars.
HOW SHOULD PROPERLY FITTED E COLLARS FIT ON MY DOG’S NECK?
The answer is VERY tight!
Uncomfortably tight- in your eyes!
Your dog has hair, and A LOT of it! Remember all of that shedding? YEAH…
That’s a lot of hair.
All that hair can actually act as an insulator between the probes on the collar and your dog’s skin, making the electric stimulation much less effective.
A properly fitted e collar should be so tight that you cannot fit more than ONE FINGER underneath it. That’s it! Just one finger.
You want the probes on the e collar to be touching your dog’s skin at all times in order for the electric current to flow properly.
If you can fit more than one finger under the strap, it is too loose and needs to be adjusted.
You can also use something called comfort pads, underneath the prongs, which helps keep the collar snug and in place.
WHERE SHOULD MY DOGS COLLAR BE PLACED AROUND THEIR NECK?
A professional trainer skilled in using e collars will tell you to place the e collars directly behind your dogs ear, tightly enough that you can only fit one finger in between the strap and your dog’s neck at any point.
We’ve all seen those dogs who have the large, dangling e collar straps- and that is NOT how it should be!
Tight and snug right on the neck of your dog, behind one ear or the other of your dog- is the best place for canine stimulation to happen and where you will find the most success with getting your dog to respond.
HIRING A PROFESSIONAL TRAINER WHO WORKS WITH E COLLARS
Hiring a trainer who has experience using a remote collar, prides themselves in positive reinforcement and is eager to help you work with your dog on correcting behaviors as well as rewarding behaviors is DEFINITELY nothing to be ashamed of.
You want to be able to trust the person you are working with, and if that means finding someone who is experienced and passionate about helping dog owners- then do it!
The best part about finding great trainers in your area, is that they will not only be able to show you how to use the equipment but can also help you troubleshoot any issues you may have along the way.
A good trainer will be able to teach you how to properly fit the collar on your dog, how to effectively use the buttons on the transmitter and can give you tips and tricks for different behaviors that you may want to work on with your dog.
Remote training collars / e collars are a great tool for dog owners- when used correctly. And furthermore, training your dog with the eyes of other people, trainers included, is ALWAYS a positive.
Remember to be clear in your communication with your dog, take the time to find a trainer who can help you if needed and make sure that the collar is fitted snugly and behind your dogs ears!
WHERE TO START USING A REMOTE COLLAR AT HOME?
If you are confident that you’d like to begin using a training collar to work on getting your dog e collar trained, first of all CONGRATULATIONS!
There are some exciting things ahead for both you and your dogs.

STEP 1: WORK WITH YOUR DOG ON BASIC COMMANDS
You absolutely need to train your dogs basic commands before beginning working to get them trained on e collars.
This was one of the major mistakes that I made- and a huge pain point for me and my dogs.

5 Common mistakes you may be making when Training Your Great Dane
Some skills you need to lead your dog through, BEFORE using collars are:
- Leash skills– walking, sitting, staying
- Recall– coming when called
- Impulse control- waiting at doors/thresholds, not jumping up on people
- Potty training (any animal should be potty trained before beginning higher level commands or being asked to have the ability to learn training with training collars)
- Their name- Teaching your dog their name is an ABSOLUTE MUST.
You need to be able to have a clear understanding and communication with your dog before you begin using any type of electronic collar.
STEP 2: FIND YOUR DOG’S WORKING LEVEL
A ‘working level’ is the level of stimulation that your dog will respond to without hesitation.
The goal is NOT to get your dog to yelp or cry out in pain, the goal is to find a level where your dog takes notice and responds accordingly.
This may take some time and you may have to experiment with different levels before you find what works best for your dog.
A good tip is to start at a lower level than you think- it is always easier to go up in levels of stimulation than it is to come back down.
Typically, a normal canine working level is below a level 10.
Begin tapping on the stim button, at a level 1. If you notice that your dog moves any part of it’s neck / shoulder or looks in your direction- STOP TAPPING- you have found its working level.
If you do not notice any sense of them feeling it, do the same thing on level 2. Continue to increase in level until you’ve seen any indication that your pet feels the stim. That is when you have found the working level.
If at ANY time you feel like your dog is in pain- stop all training and lower the stim immediately. E collar training is NOT supposed to cause pain!
STEP 3: INTRODUCE YOUR DOG TO THE E COLLARS BY USING THEIR NAME
Like mentioned, your dog MUST have the ability to know their name.

If they do not respond to their name, back up- and begin working with them to target behavior of gaining eye contact when you say their name.
Otherwise, get ready to teach your dog what the e collar MEANS by using their ability to know and respond to their name.
First, you will want to put the e collar on your dog.
I like to do this while they are eating their kibble or a treat so that they make an association with the collar being put on = good things happening.
Once the e collar is on, you will take a few steps away from your dog and say their name in a happy voice.
When they look at you, immediately press the button on the transmitter (at their working level- the lowest possible level) so that they feel static stimulation on their neck.
Do this a few times until your dog begins to turn their head towards you when you say their name.
This routine training period should be repeated daily for about a week- as your canine buddy learns to associate their name with the e collar stim and also- best of all- with YOUR EYES.
STEP 2: BEGIN WORKING ON A LONG LEASH / LEAD WITH YOUR DOG
Using a long lead to teach your canine positive learned behaviors with a leash and electronic training collars is a huge skill.
Using a long lead, find a safe area like your backyard (away from other dogs).
Attach the long lead to your dogs e collar- making sure that there is plenty of room for your dog to walk around on the lead.
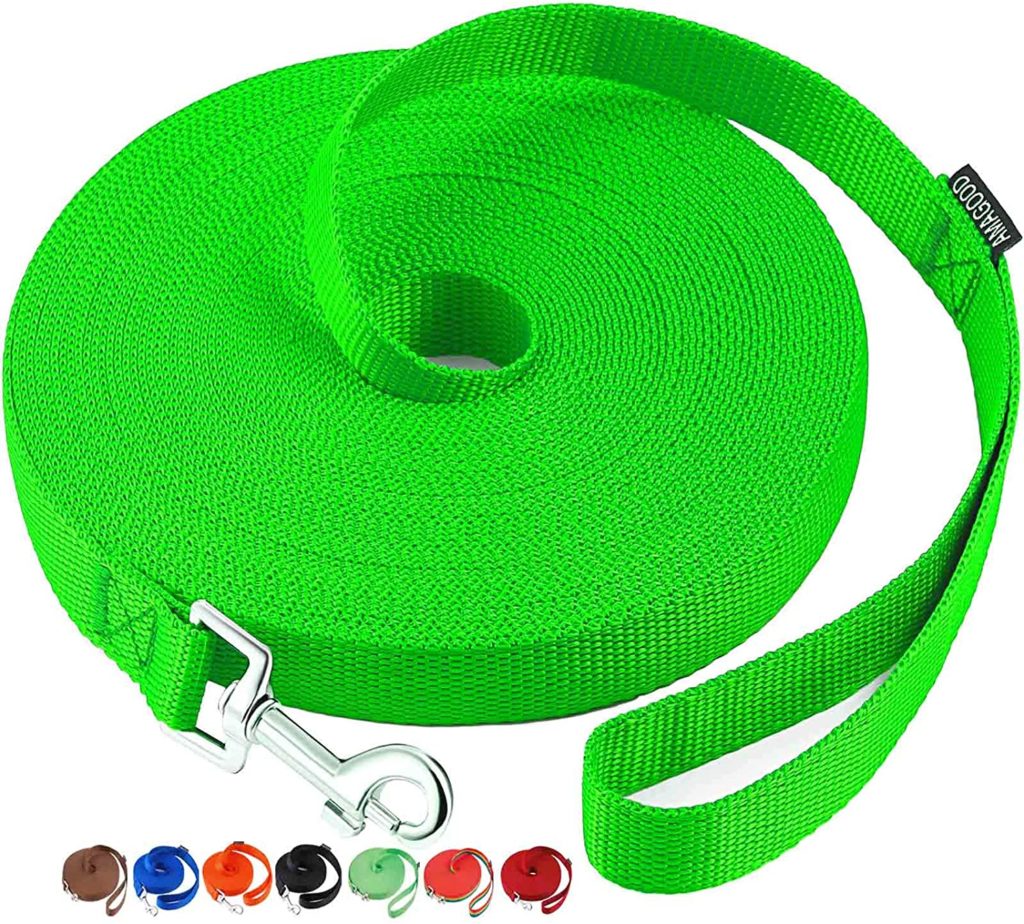
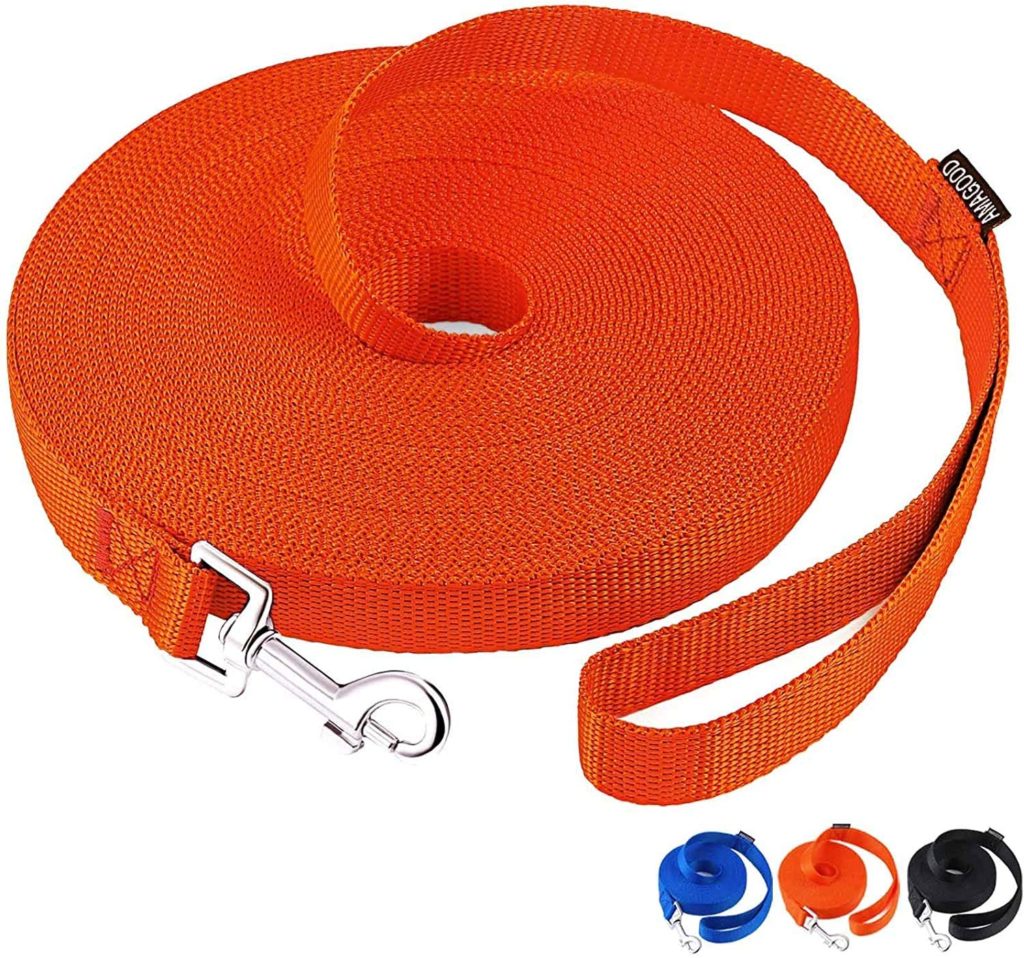
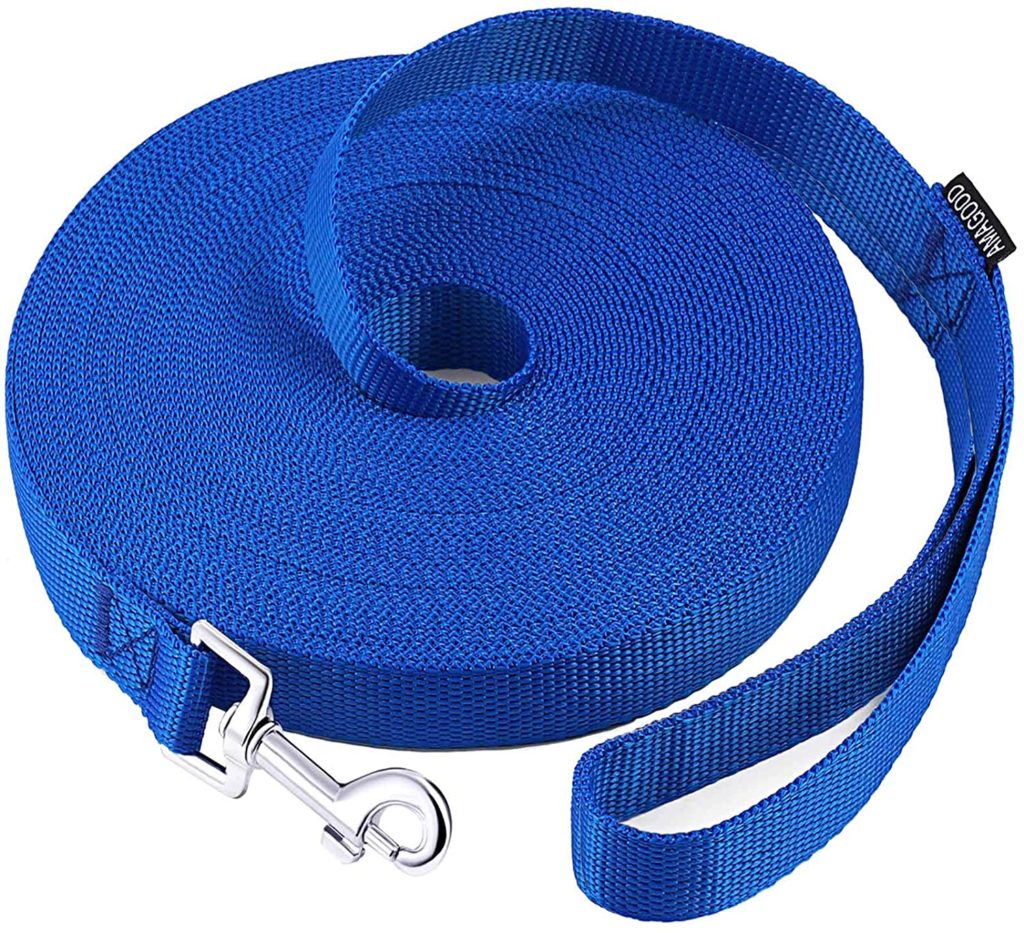
You should be able to feel the leash moving with your dog as they move.
I like to use a six-foot lead for this so that I have some room to work, but you can start with whatever length / distance you find most comfortable.
PLAYING THE ‘HOT AND COLD’ GAME
Begin holding down the continuous stim (at their working level and at the same time, call your dogs name from a distance and say ‘come’.
If your dog follows this command and immediately comes towards you, start dropping the stim level lower (going ‘colder’).
If they do NOT follow this command, begin to slowly increase the stim (going ‘hotter’) until your dog begins lowering the distance between you and them.
As soon as their body moves CLOSER in distance towards you (an act that they are beginning to follow the ‘come’ command, you should say ‘YES’ and begin lowering (colder).
Continue this pattern until your dog is coming towards you quickly, at which point you can start to decrease the length of the leash.
I like to do this training in baby steps- so if my dog is on a six-foot lead, I will lower it down to a five-foot lead and work with them there for a few days before going down to a four-foot lead, and so forth.
The goal is for your dog to be able to respond quickly on a verbal command with little to no stim needed (from you).
This will take some time and patience, but it is SO worth it in the end!
LEASH TRAINING YOUR DOG USING TRAINING COLLARS
The great thing about using e collars for leash training is that you can get your dog used to the feel of the collar around their neck as well as begin working on getting them used to wearing a leash- all while staying in the safety and comfort of your own home!
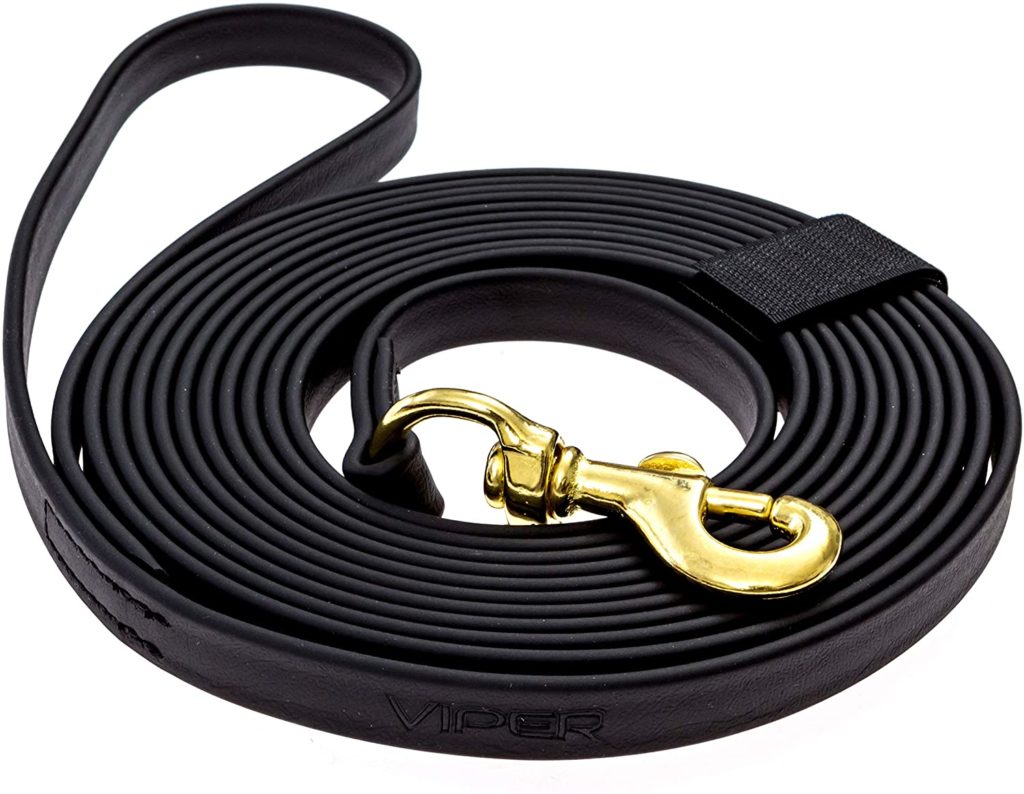
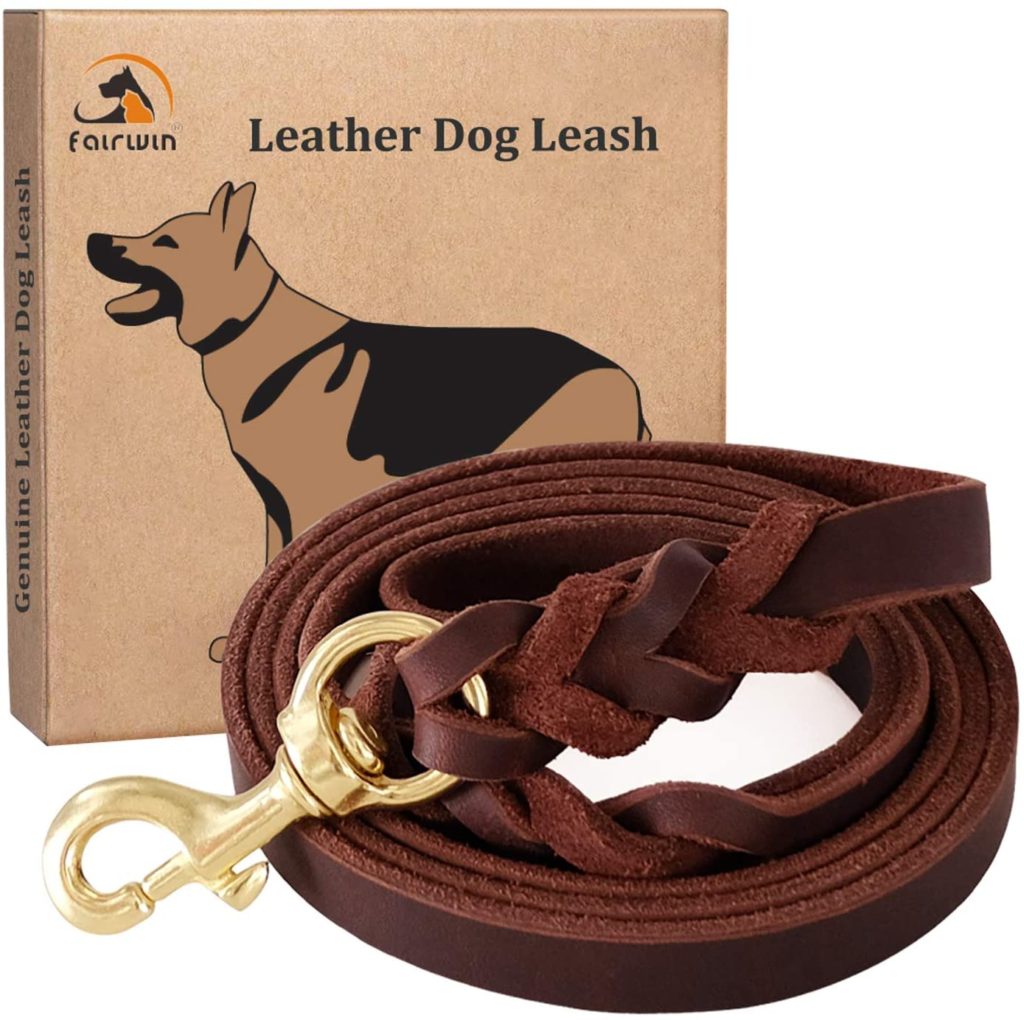
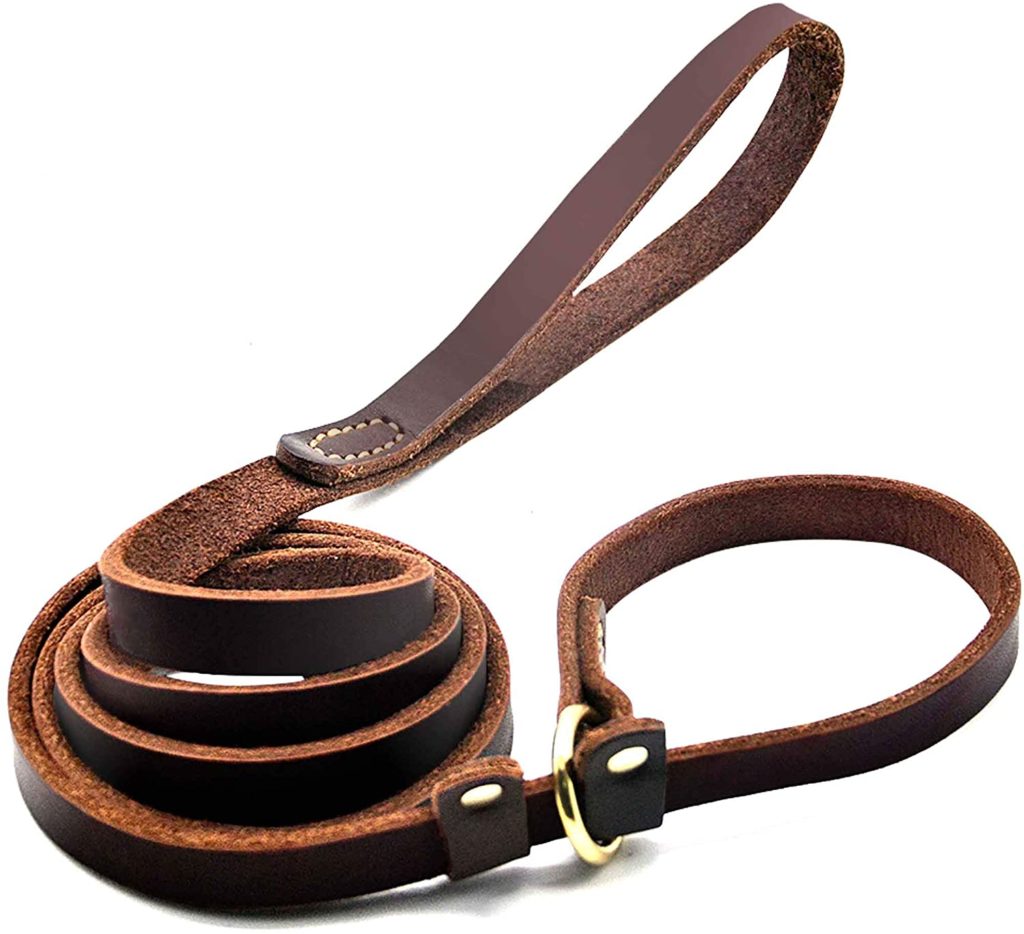
Start by putting the e collar on your dog and attaching the leash or long slip lead. This period of training works best with a long leash- here are a few of my favorites:
I like to do this while they are eating their kibble or a treat so that they make an association with the collar being put on = good things happening.
Once the e collar is on and the leash is attached, you will begin training them to walk on leash with their learned behaviors of the e collar.
Allow your Great Dane to have a loose leash- leash tension is a sign of your pet pulling, and will want to tackle that with training.
Target behavior of walking calmly next to your side by continuing to play the ‘hot and cold’ game with your dog. As your pup walks next to you, if they begin to walk in front of you, dial up/hot, as they walk back into stride next to you, dial down/cold.

This form of communication in training will let your dog know that they are doing what you want them to do- without having to use any physical corrections.
Remember, the goal is for your dog to be able to walk on a loose leash by your side with little to no stim needed from you!
STEP 3: DEVELOP A FOOD REWARD SYSTEM
Balanced training means to not only use corrections but also to reward your dog when they are doing what you want them to do.
I like to keep things simple and use kibble for rewards during training sessions, but not ALL the time. Using kibble as your ONLY means of reward has the POSSIBILITY of your dog beginning to rely on the yummy item, rather than falling back onto their obedience training.
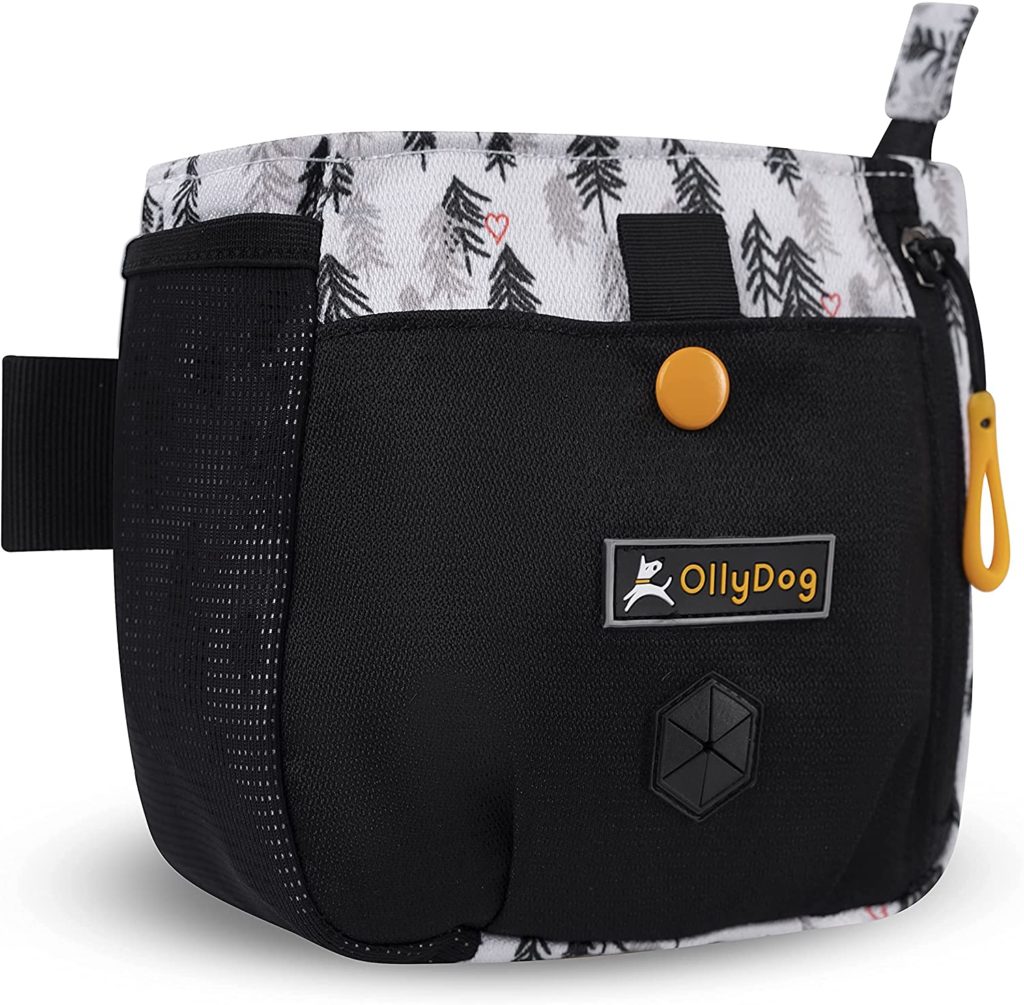
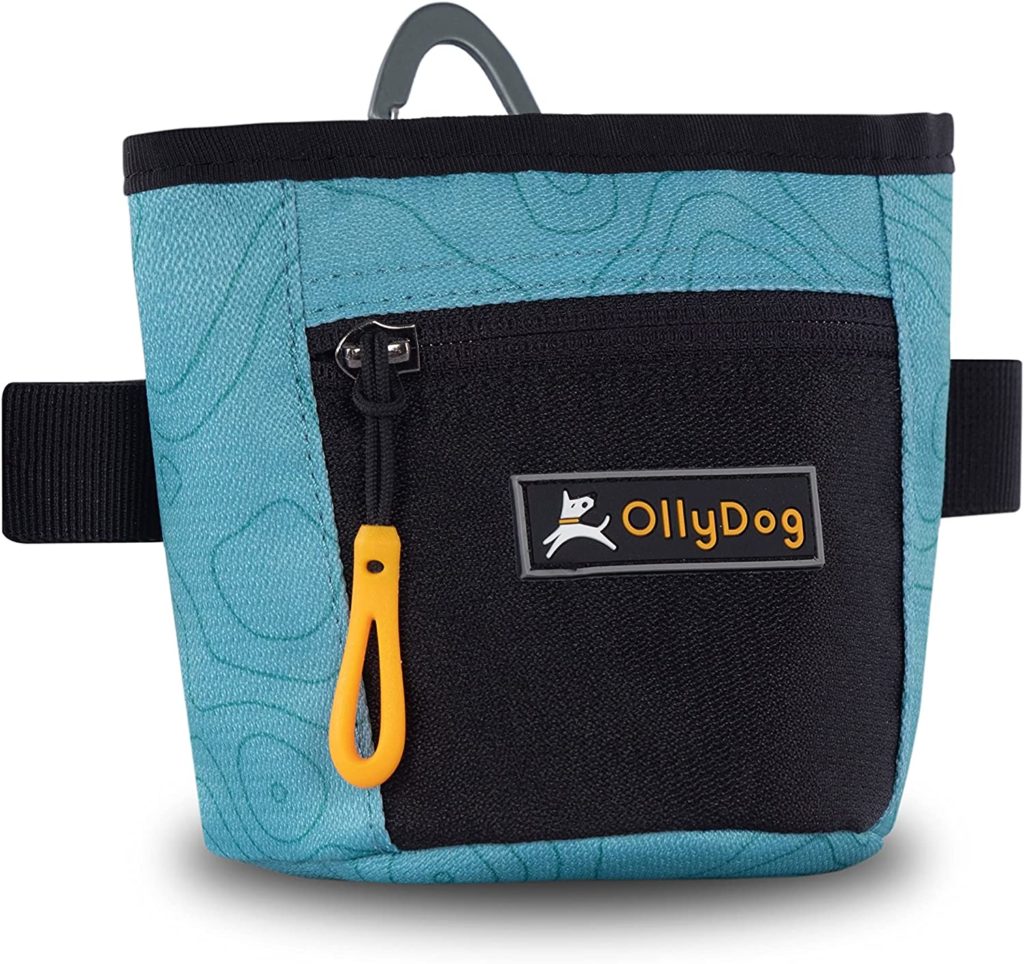
When using treats, a bag can be a sweet way to maintain control over the leash and dog, while also keeping something yummy around your waist.
Here are some of my favorites:
REWARD ALWAYS!
That does NOT mean that you should only reward your dog sometimes!
Rewards come in MANY different forms such as :
- Treats
- Kibble
- Praise
- Verbal commands followed by an energetic hug or excited ‘good job’
- An excited pet
- Simply taking a break to rest, sit and lather attention on your pup
You can (and should) use a combination of ALL these forms of rewards during your dog’s training! This will help to keep things fun and interesting for both you AND your pup!
Here are my all time favorite treats!


Remember, the goal is to find what motivates YOUR dog, mix things up with every command / reward, and to make training fun!
THE PROCESS TAKES PATIENCE AND PERSISTENCE
I’ve come a LONG way in my training process with my pups.
I had to really search for what worked best for us, and that took time, patience and consistency.
But it was SO worth it in the end!
I hope this guide has helped you to learn a little bit more about e collars and how to use them during your dog’s training journey! If you have any questions or comments, please feel free to check out our e collar training guide! I love hearing from you all!
Happy Training! 🙂
READ MORE:


Leave a Reply